WSL2 Ubuntu GUI Configuration
This article explains how to configure a graphical interface for an Ubuntu system based on WSL2.
It uses xrdp as the daemon, which supports Microsoft’s Remote Desktop Protocol (RDP) and uses either Xvnc or xorgxrdp as its backend. The desktop environment used is xfce4, a lightweight desktop environment designed for Unix-like operating systems, capable of running under limited system resources.
The main references is: WSL2 Ubuntu GUI 图形用户界面_哔哩哔哩 (゜-゜)つロ 干杯~-bilibili
1. Install and run xrdp & xfce4
First, update apt source:
1 | sudo apt update && sudo apt upgrade |
Then install xrdp:
1 | sudo apt install xrdp |
Then install light weight desktop xfce4:
1 | sudo apt install xfce4 xfce4-goodies |
It’s worth noting that I encountered the error Fail to fetch [url], Connection failed [IP] at this step. I suspect the issue was caused by network problems when trying to fetch packages from the official Ubuntu repository, so I switched to the Tsinghua University mirror instead. Tsinghua Open Source Mirror
If the following interface appears, it means the installation was successful.
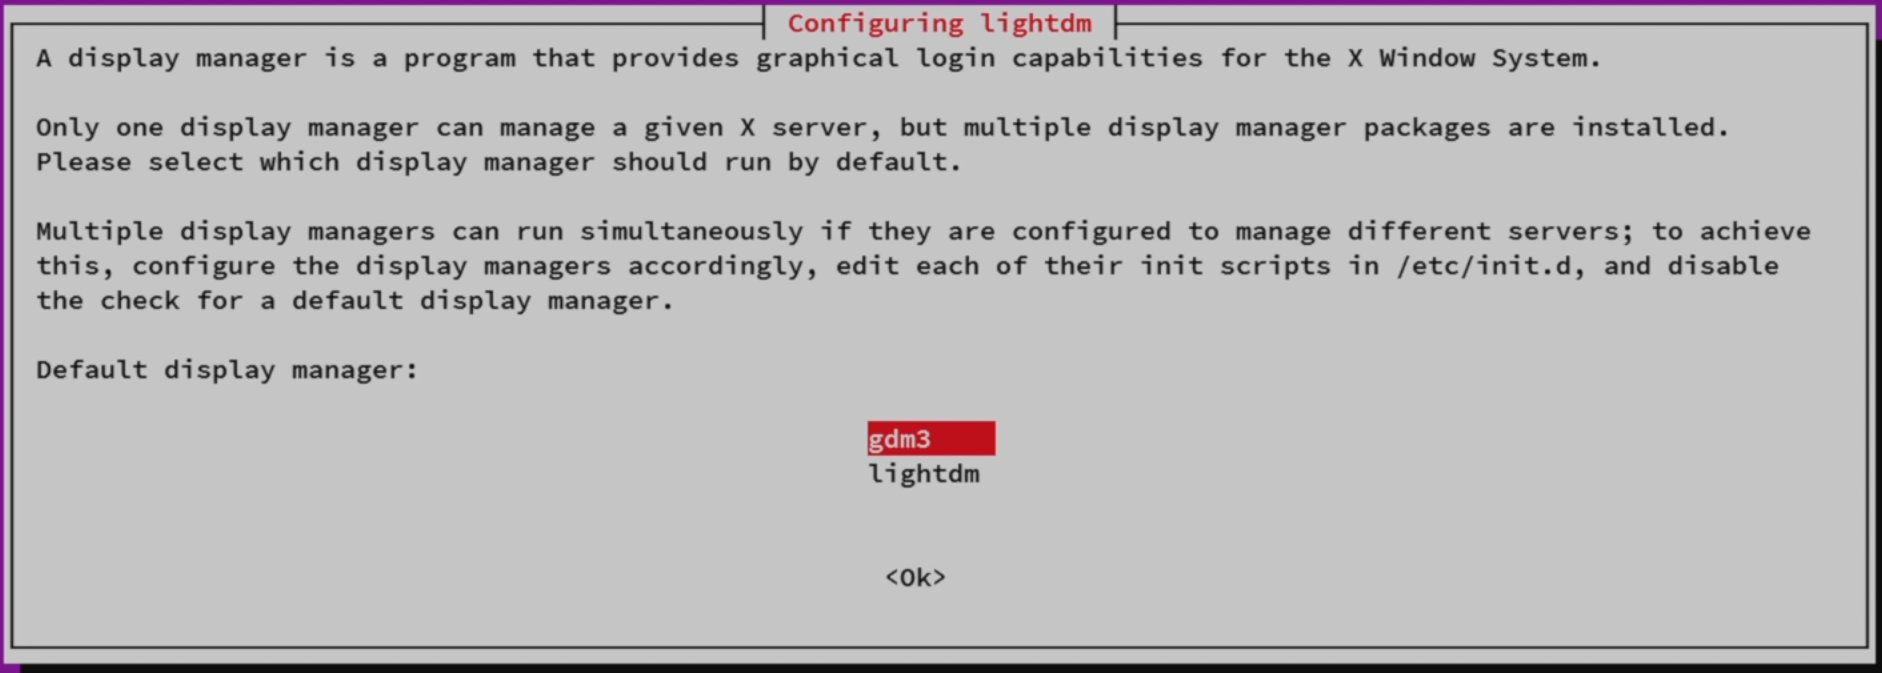
Pick any one, click on OK。
Now let’s set the configuration file for xrdp,to enable support on 128-bit color depth.
1 | sudo vim /etc/xrdp/xrdp.ini |
Please search for bpp :
- Change
max_bpp=32tomax_bpp=128 - Uncomment
#xserverbpp=24, and change toxserverbpp=128
Now make xfce4 to be the default launching session:
1 | echo xfce4-session > ~/.xsession |
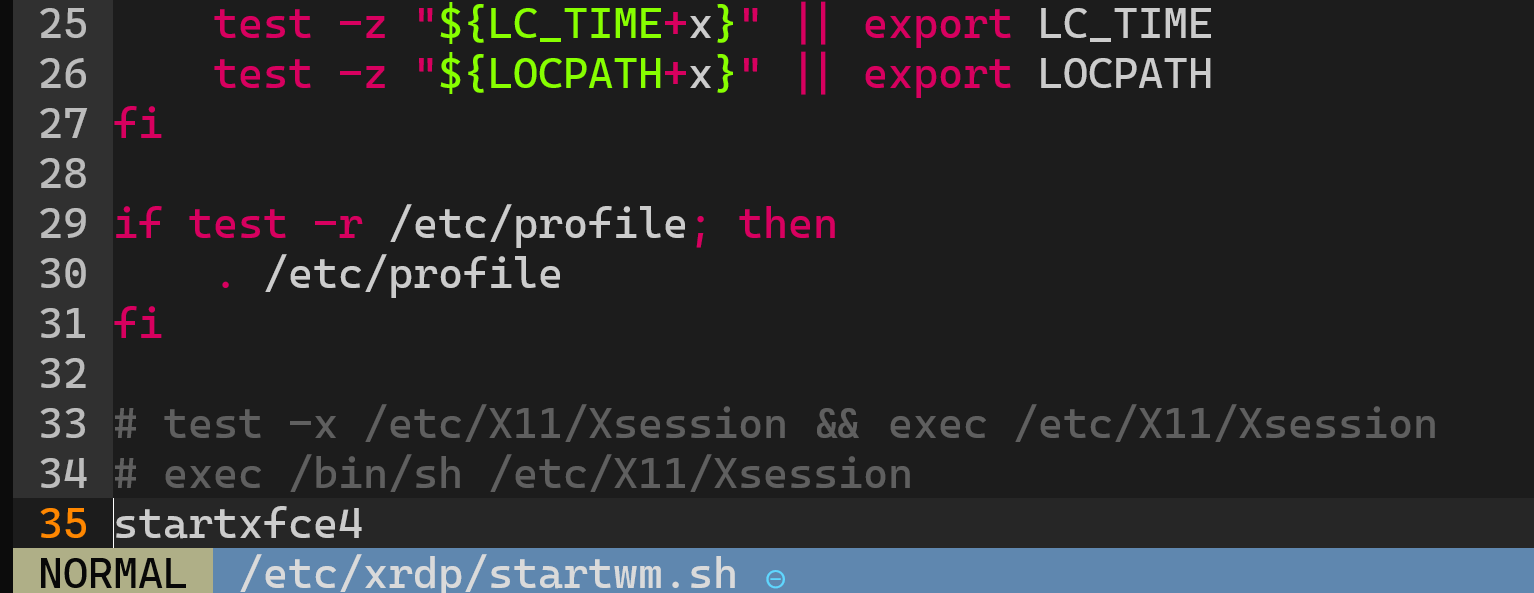
Edit /etc/xrdp/startwm.sh, comment last 2 lines, and add startxfce4, as shown in screenshot below
Use the command sudo /etc/init.d/xrdp start to start the remote desktop protocal service, the following message is a sign of success.
1 | * Starting Remote Desktop Protocal server [OK] |
2.Connect to a remote desktop in Windows
Now connect to xfce4 inside WSL2 in Windows environment:
First, get the IP of eth0 Network adapter in WSL2. enter ip a, you will get messages like below:
1 | 5: eth0: <BROADCAST,MULTICAST,UP,LOWER_UP> mtu 1500 qdisc mq state UP group default qlen 1000 |
192.168.127.80 behind inet is the IP address that we need.
Next, open Remote Desktop on Windows by simply searching for “Remote Desktop” in the Start Menu. Enter the IP address mentioned above and click Connect.
Then, in the following interface, enter your username and password:
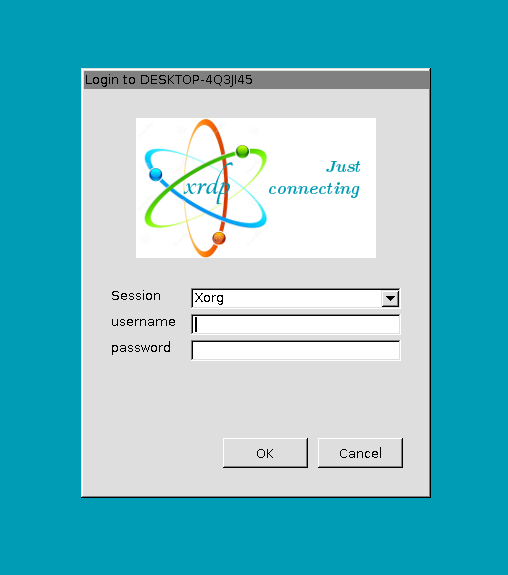
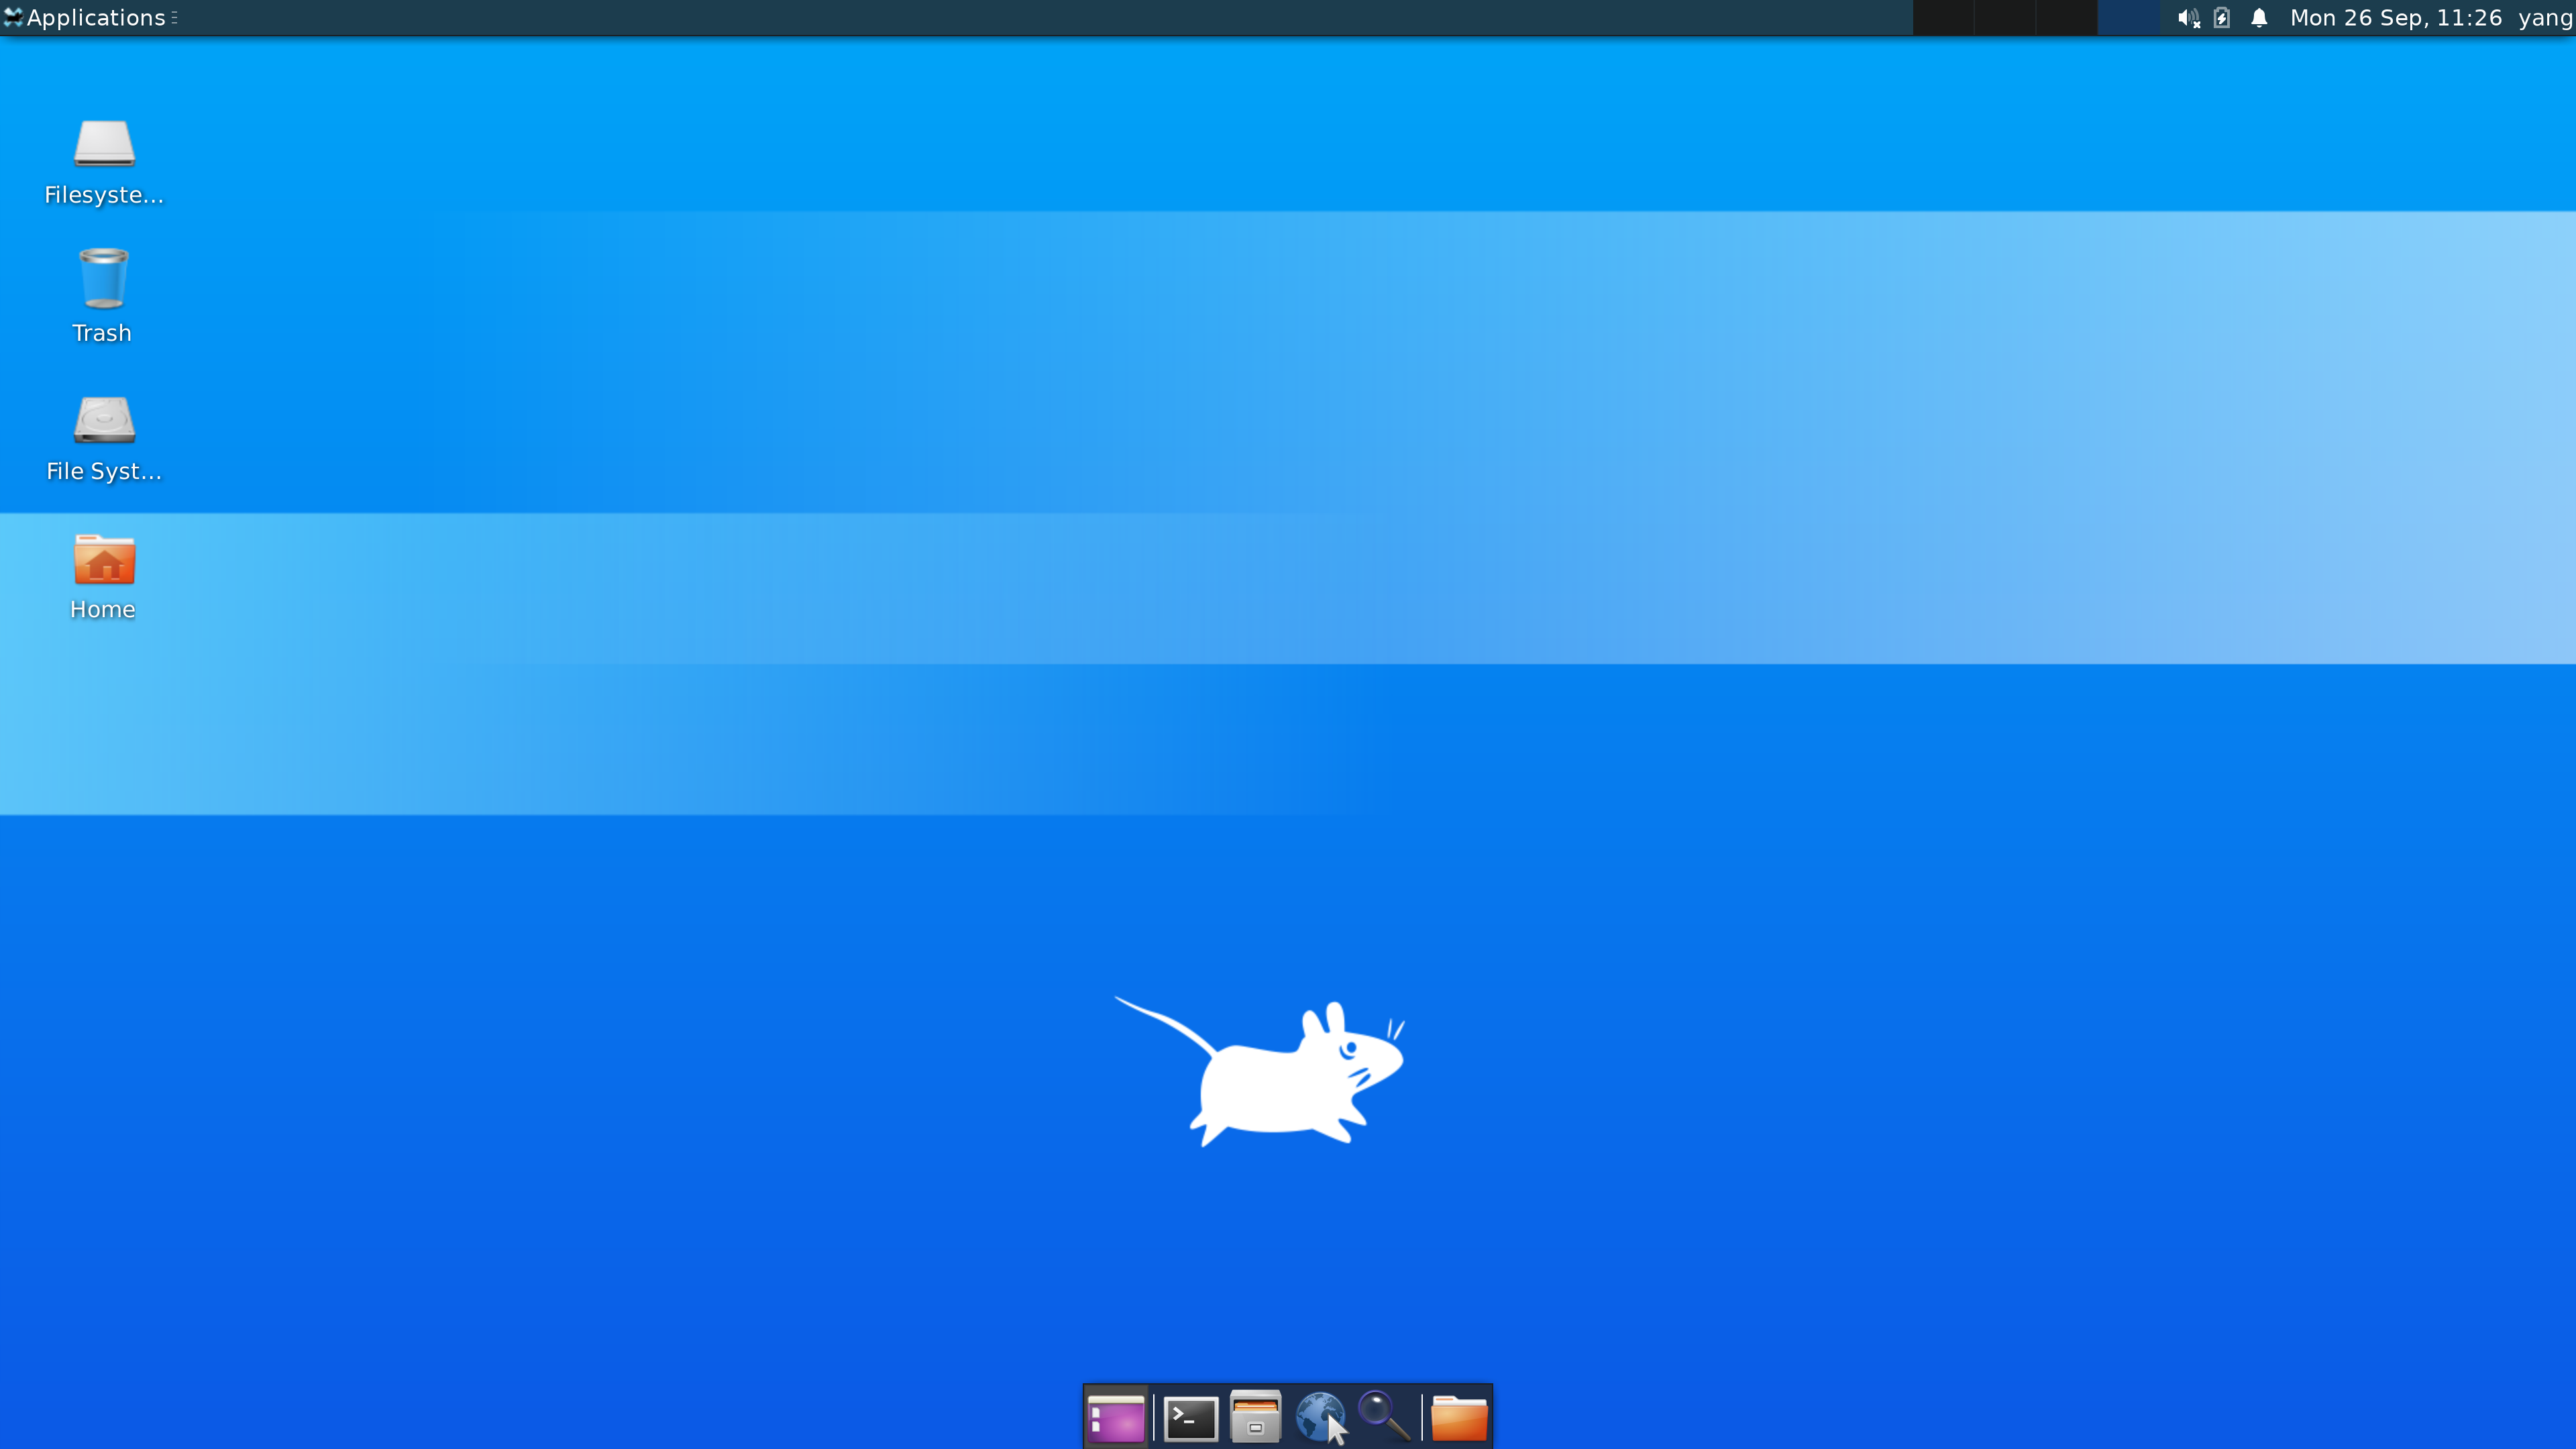
Click Connect, and you’re all set!

To use the browser, open Terminal, enter sudo apt install firefox.
3. Configurations for Remote Desktop
(1) Font and Screen Scaling
If you’re using a 4K high-resolution display, the fonts in Remote Desktop will appear extremely small. You’ll need to go into Appearance to adjust the settings:

Set Windows Scaling option to 2x:
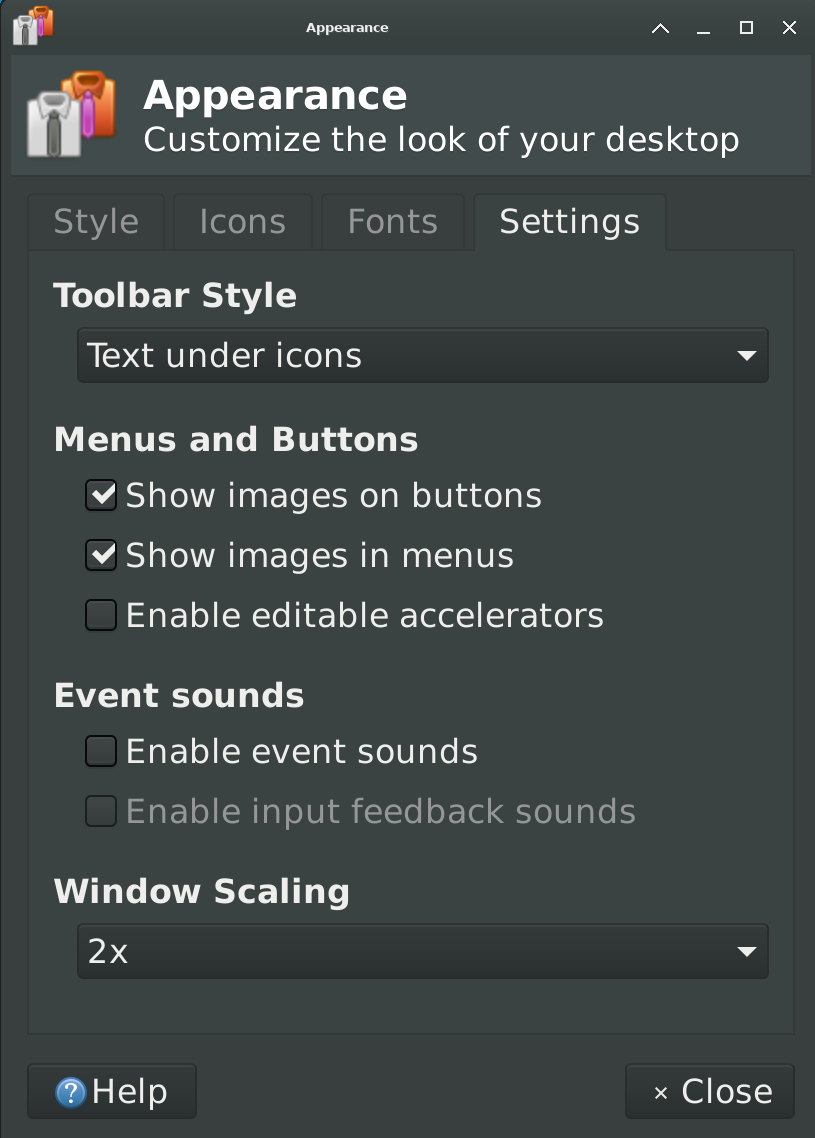
You can also modify DPI in Fonts menu. The larger DPI number is, the larger text size will be.
(2) Solve Desktop Disconnection Problem
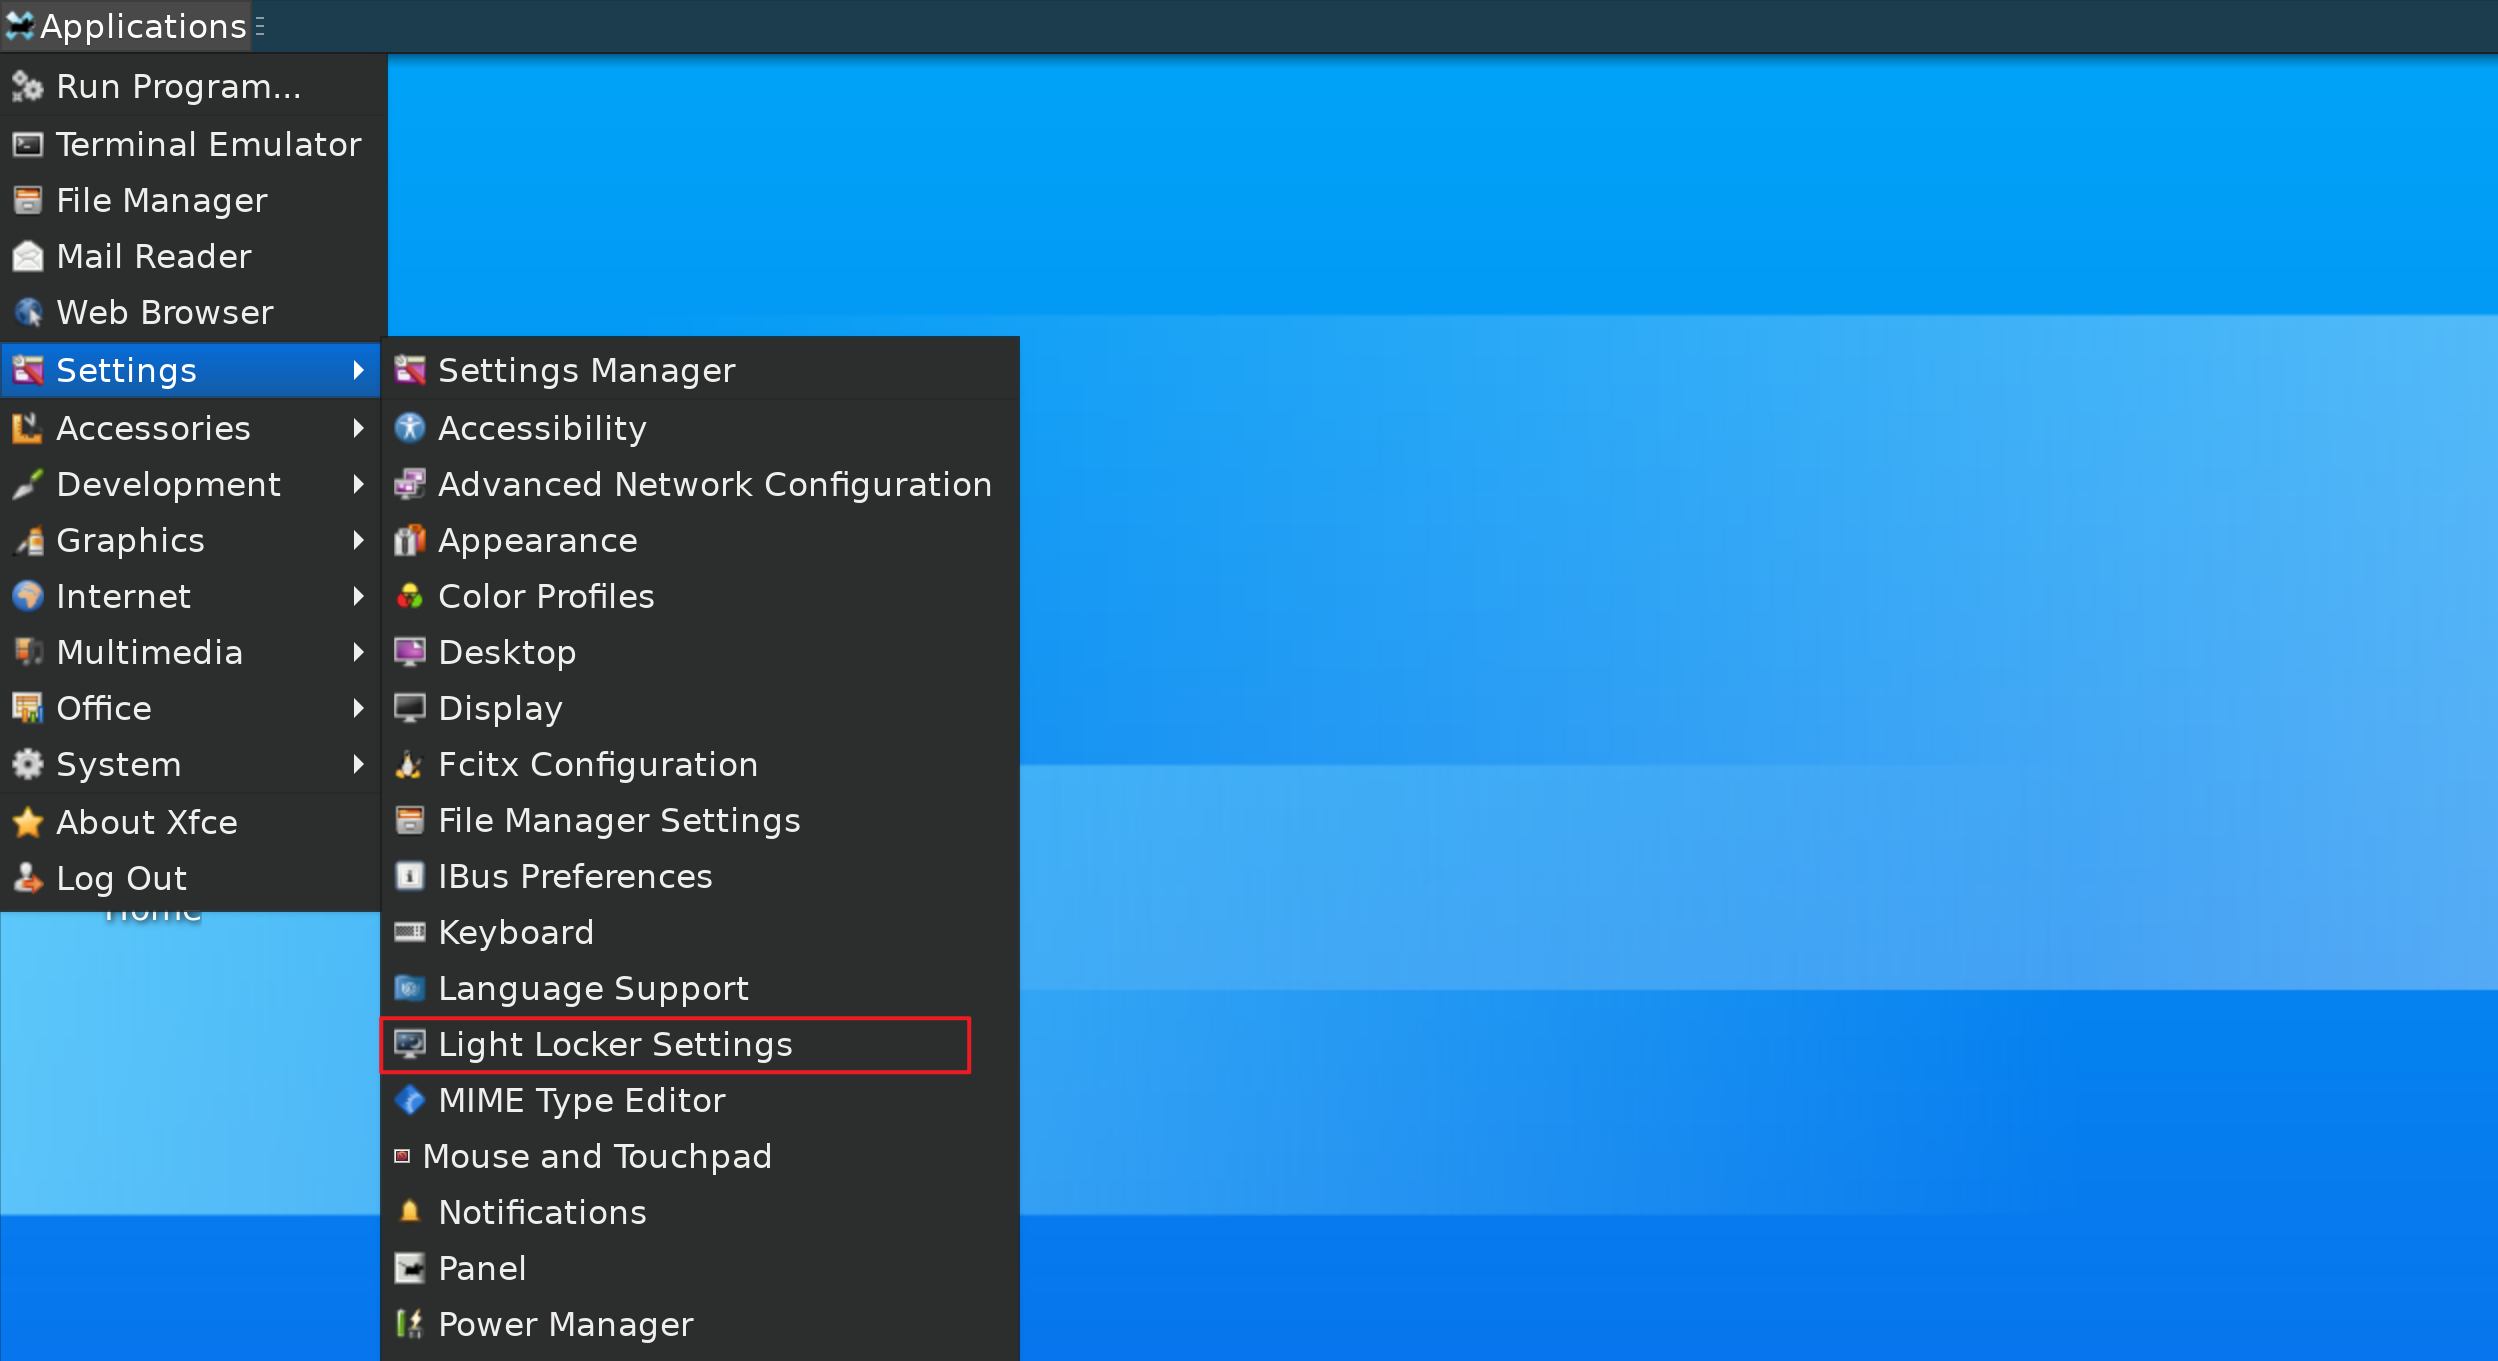
I found that after leaving Ubuntu idle for some time, the Remote Desktop session would automatically go black. Even after closing and reconnecting, the issue persisted, and only restarting the xrdp service could fix it. Later, I found a solution, which came from: 如何解决xrdp远程连接ubuntu20.04后黑屏的问题? - 知乎 (zhihu.com):
In Setting -> Light Locker Settings, set Automatically lock the session to Never.
4.Simple Script For One Click Startup
The following shell starts xrdp service and display IP address:
1 | # ~/Documents/set-rdp.sh |
Add the following command to .zshrc (if you use zsh, otherwise use .bashrc etc.)
1 | rdp() { |
Run the command:
1 | source ~/.zshrc |
You can then type rdp in the terminal to start the xrdp service and display the IP address of WSL2, as shown below:

WSL2 Ubuntu GUI Configuration